 When I first heard about shirt reconstruction I was ecstatic because I could spice up my old t-shirts in a flash whenever I wanted. I made a few mistakes like this blue shirt that shows my bra, is much shorter than I remember, and is otherwise awkward to look at.
  Another mistake is this tan shirt that is just as dumb-looking as when I first received it, and I haven’t found a way to fix it yet.
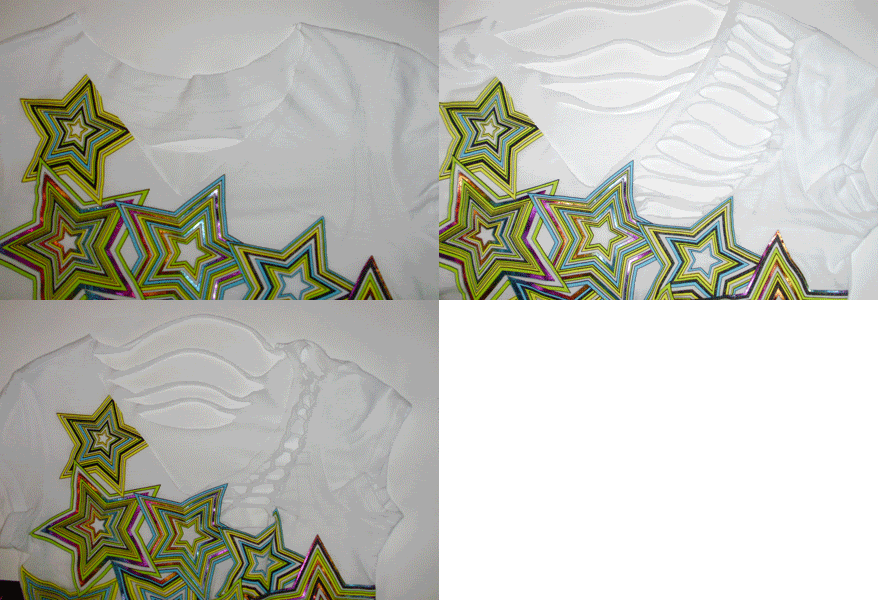
  Now, I want to make this white top a one-shoulder number, but since that didn’t work out very well last time, I’m just going to try cutting strips in the left shoulder for a peek-a-boo effect.
First step is to make sure you have a sharp pair of scissors. I usually use my Fiskars from JoAnn, but they have some small dings in the blade, so I’ll use the smaller Westcott pair I got from Office Max with a cool paper cutter. Do not use a rotary because it’s harder to control where your cuts start and stop.
Next I’m going to cut out the neck of the shirt then put the shirt on and use a pencil to show where the top of my bra is so I can cut as low as possible. After cutting the neck out the shirt sits differently than when the collar is hemmed. You can leave the collar on, but I prefer it gone. If cutting the collar off it’s a good idea to use needle and thread to stitch the end of the shoulder stitching because it tends to unravel.
After cutting anything on jersey tees, stretch where you just cut to make the edge roll.
Next I made curved horizontal cuts on the back under the collar line about a half inch apart, then I made straight horizontal cuts under the left shoulder seam about a half inch apart. After stretching the shoulder cuts, I finger knitted them together, sniped the last cut in half (at the seam) and tied it off.

Now wash it to remove the pencil marks, and you’re good to go!